Leaking RV Roof

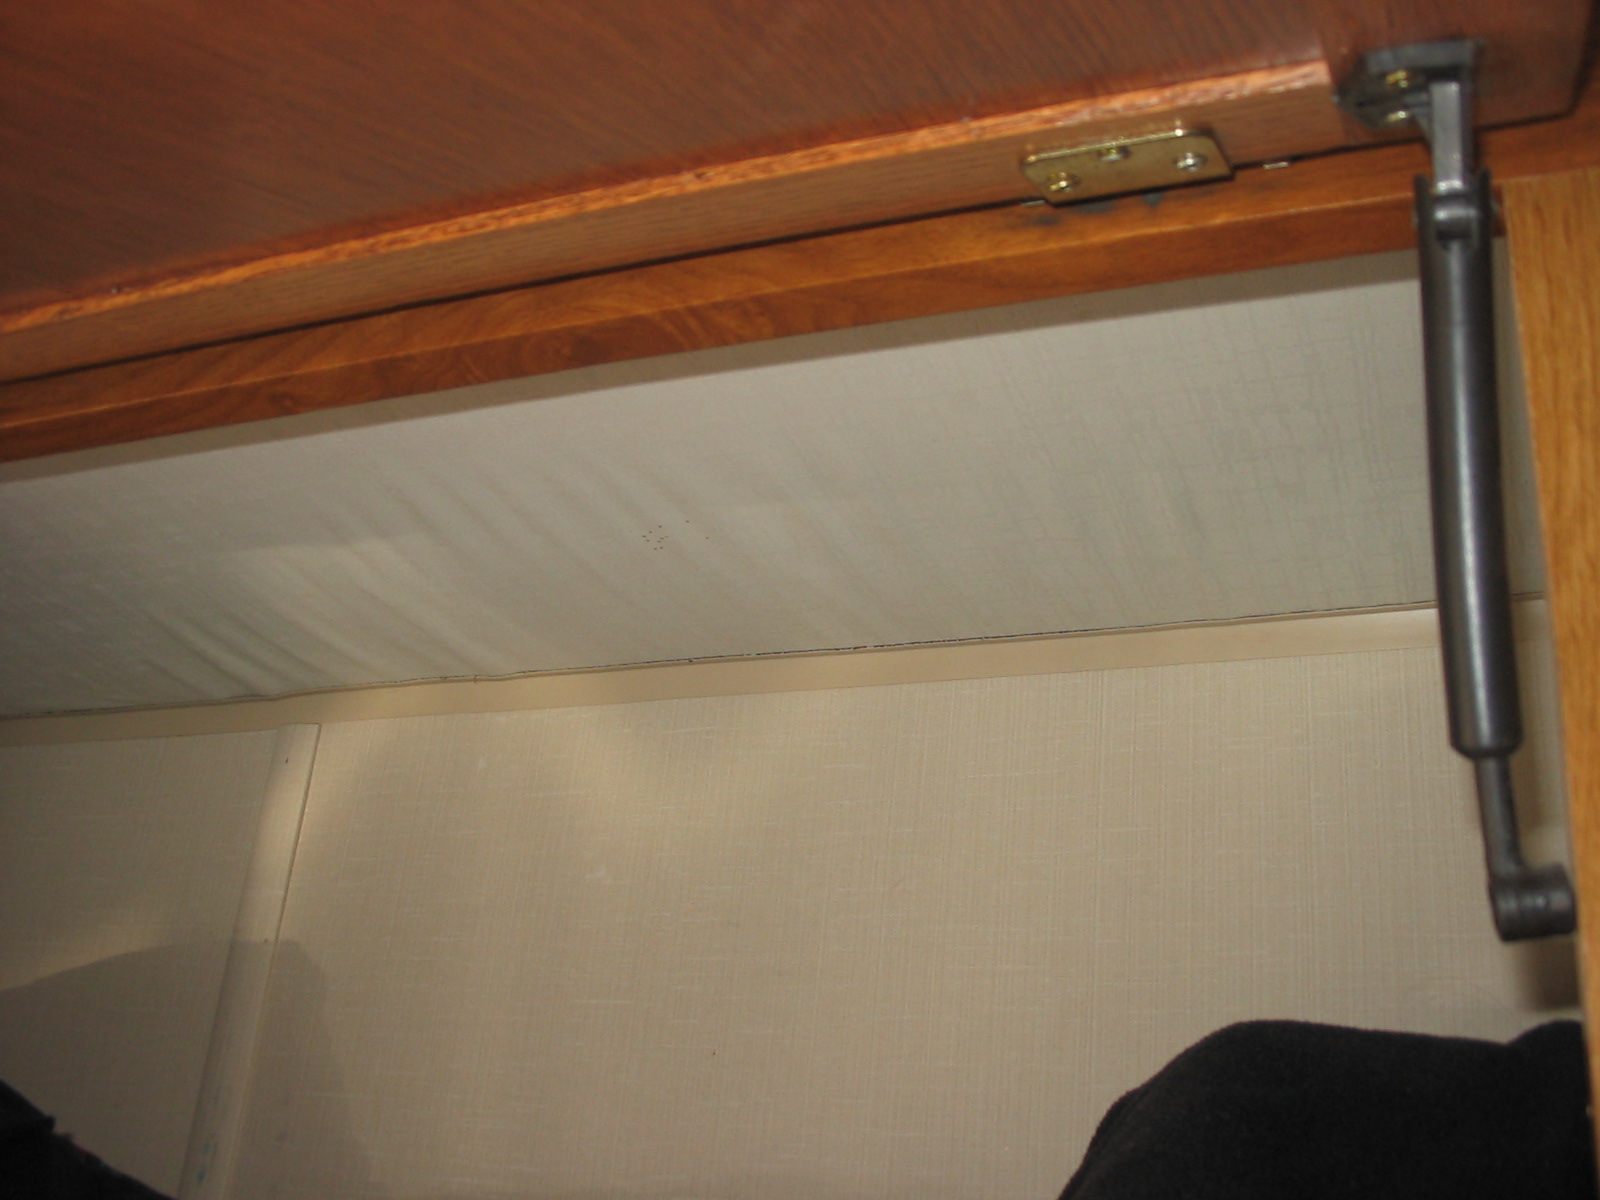
See the wrinked panel on the ceiling of this closet?
A leak in the ceiling usually shows up on the inside of the coach some time after the initial leak. Often, long after the leak has occurred! In that case, there will likely be some dry rot damage to the wooden roof structural members. A fungus that attacks the wood, weakening it, and eventually turning it to powder causes dry rot. The fungus thrives in damp, warm areas and the RV roof is an ideal place for it to start. It will work outward in all directions, from the source of the leak, and may extend for several feet or more.
 Dry rot shows up as dark or blackened wood and the wood may be soft and spongy
or starting to powder. Often, the ceiling panel is the last part to show a
stain from a leak and the dry rot may be extensive by that time.
Some indications of hidden dry rot are obvious - stained and sagging ceiling panels, loose or wavy panel coverings - while other indications take a little investigation. Screw heads, nails or staples that are rusty on the exposed surface are mostly completely corroded from the inside out. Remove the light covers; pull out one or two screws that hold it in place to check the length of the screw for rust. Remove the bezel that covers the inside opening of roof vents for a similar inspection and check the visible wood for signs of dry rot.
If the affected area is small and easily accessible, it may be possible to repair it from the inside of the coach, although it may be impossible to find an exact match for the paneling. If the area is in the bathroom, for example, a panel with a similar texture and color could be used with a border edge to separate it from the rest of the ceiling. If the area were in the living room section, a panel replacement would be very obvious.
The construction of the RV will have a bearing on the method of repair, so I will take a moment to mention the different construction types.
Framed "stick and staple" construction: This construction is similar to the way houses are built in that there is a frame of wood or metal that provides the structural form. Paneling is stapled and/or glued to the inside and aluminum siding is stapled to the exterior framework. Insulation is contained within the cavities of the framing members and is normally fiberglass wool. The various window and door openings, and all the appliance access openings are framed with wood members as part of the structure.
Bonded construction The bonded system is a sandwich of the interior paneling, the rigid insulation (usually Styrofoam) and the outer skin of aluminum or fiberglass sheeting. These components are bonded together with adhesive and pressure is applied to form a strong and durable structure. The entire wall is formed as a solid sheet, run through rollers (or otherwise pressed together) and then the various window and door openings are cut out where needed. Wood or metal framing is included where required, for example, where the awning will be attached or where the entry door is located.
Most RV's are constructed from the bottom up. The floor is installed first and then the cabinets, appliances and interior walls are set in place. The walls and overhead cabinets are installed next and then the roof is added. It is far easier to install the plumbing and electrical systems using this method.
In order to replace ceiling panels it is often necessary to remove the roof, rebuild the structure to the exact same dimensions and replace the ceiling panels at this time. As you can see this would be a very time consuming and expensive repair.
See also: RV Roof Repair